2020 sure has been a year. We are living through unprecedented times right now, and you should be proud of yourself for everything you are able to accomplish daily. Through it all, maybe you haven’t spent much time on yourself. But remember- self care is always important! This guide will show you that brow shaping at home isn’t as scary as it may sound. Whether you’re a total beginner to this process or maybe have been plucking at home for years, I am going to give my expert advice on how to achieve fresh brows worthy for any ~quarantine queen~.
Word of Advice: Brows aren’t everything, but grooming and shaping them up can put a smile on your face!
It’s okay if your brows aren’t perfect. It is okay if they are super thin, or super bushy. This purpose of this guide is absolutely not to tell you that you have to conform to any beauty standards. However, I know the importance brows play in your life being that I used to wax them every single day for clients. Whether you need help with how to shape or just how to trim, this guide will serve you.
If you are struggling with overplucked brows that you want to grow, read my previous post on helpful tips for fuller brows.
Tools Needed for Brow Shaping:

- Spoolie
- Brow Pencil or Eyeliner (any color is fine)
- Tweezers
- Brow Scissors
First step in Brow Shaping:
Brow Mapping
This is the most crucial step in doing your brows at home. An esthetician or brow artist at the salon will follow this guide as well to give you those perfectly snatched brows. You may have seen videos of brow mapping or microblading on instagram, since it is uber popular right now. The process we are following is much easier and quicker since we aren’t creating all new brow hairs but cleaning up existing ones.
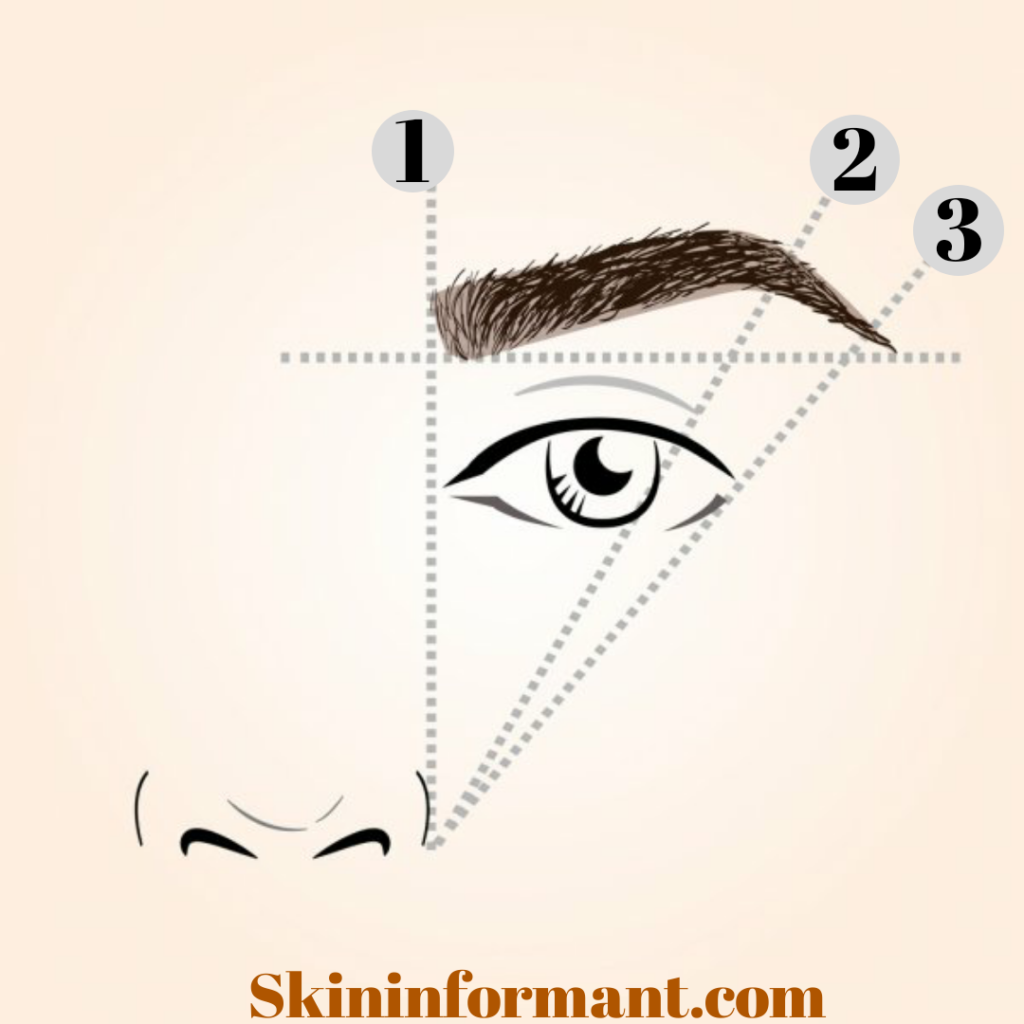
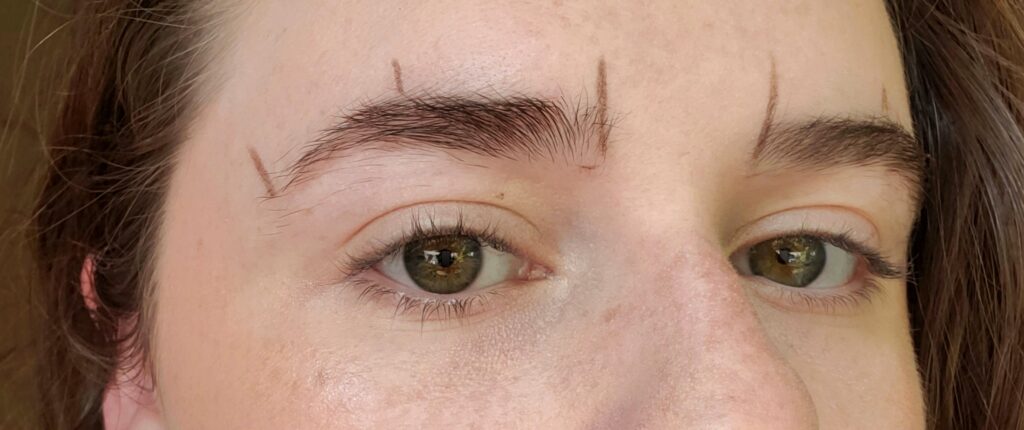
This guide shows you the 3 points you are going to mark with your eyebrow pencil or eyeliner.
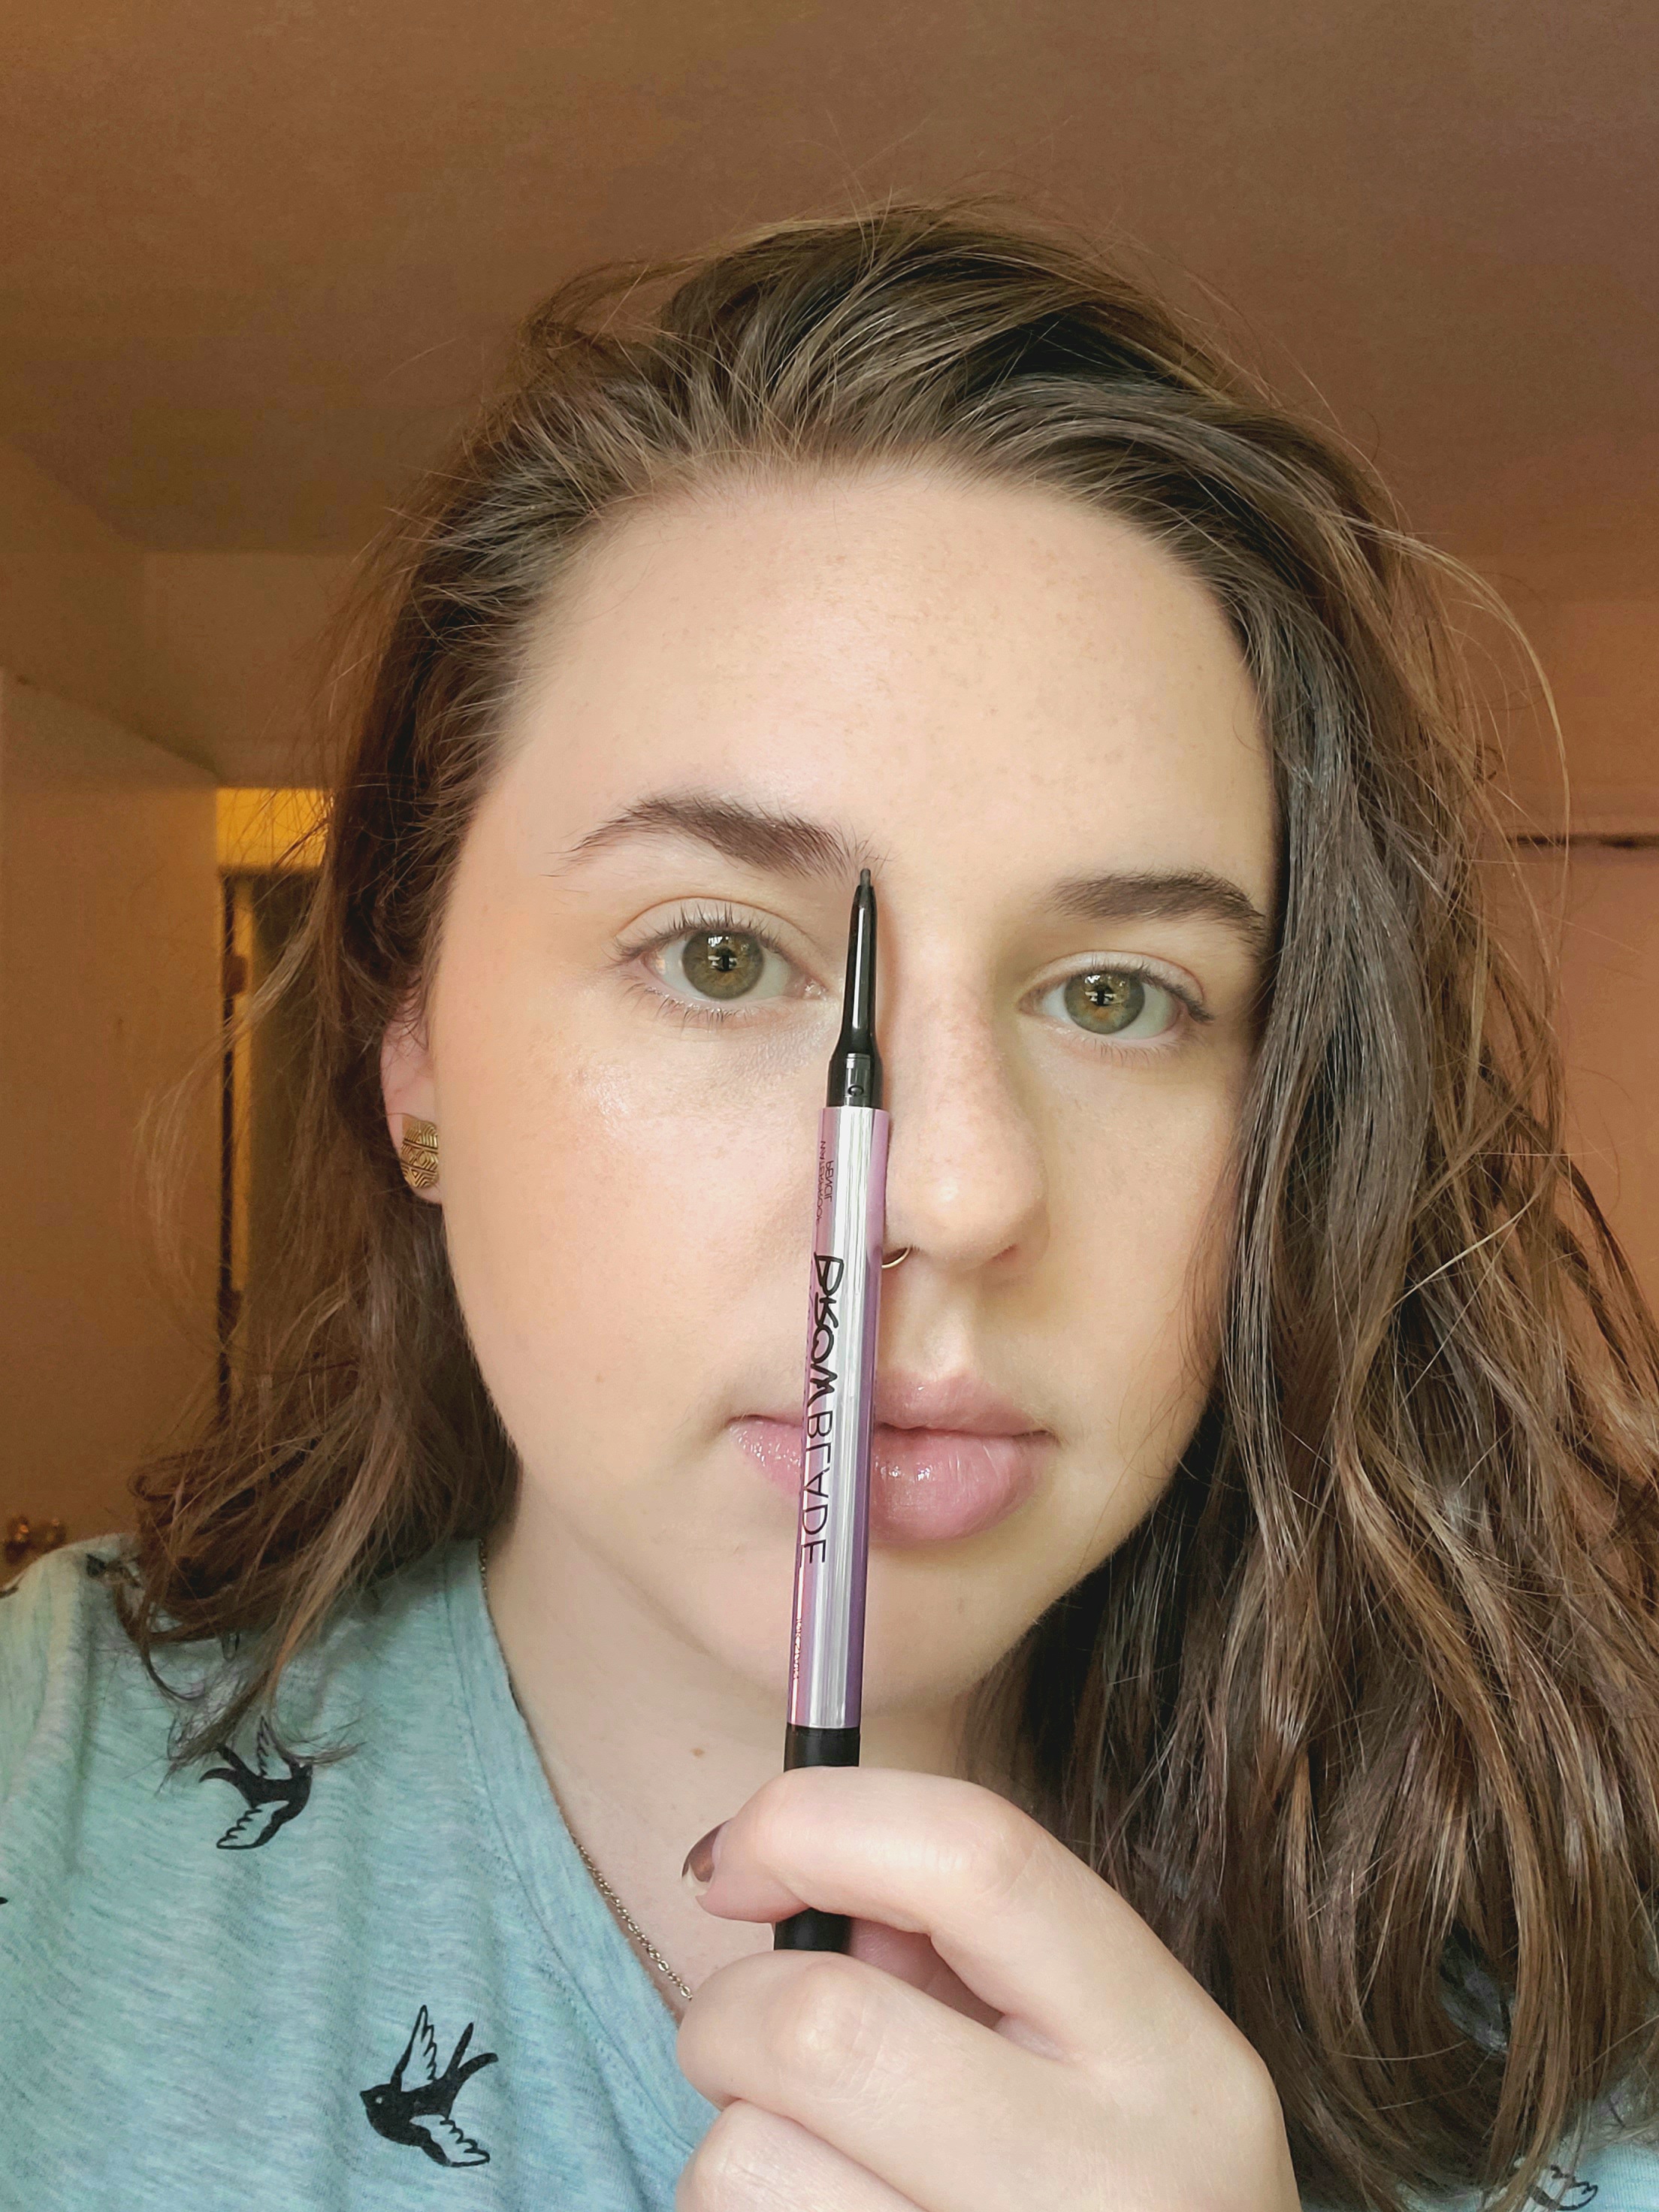
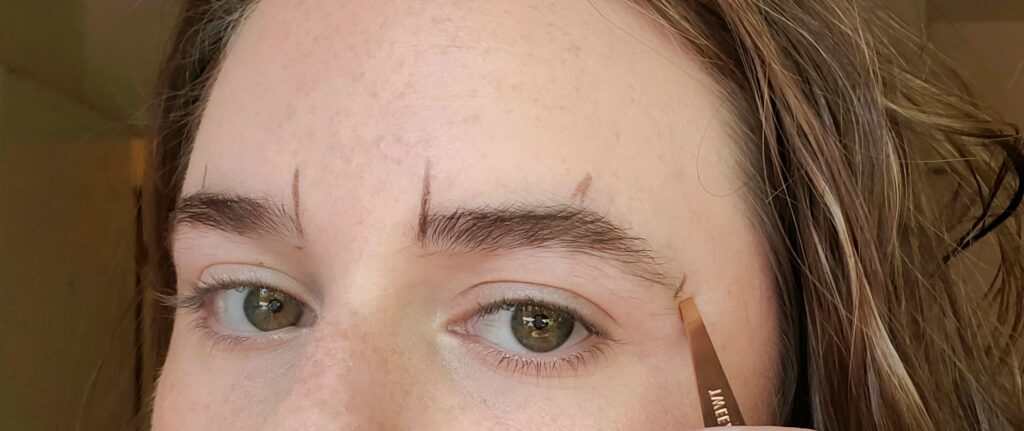
- Straight from the edge of your nose up is where your brows should begin

2. Draw a dot right past the iris of your eye to mark the beginning of your arch
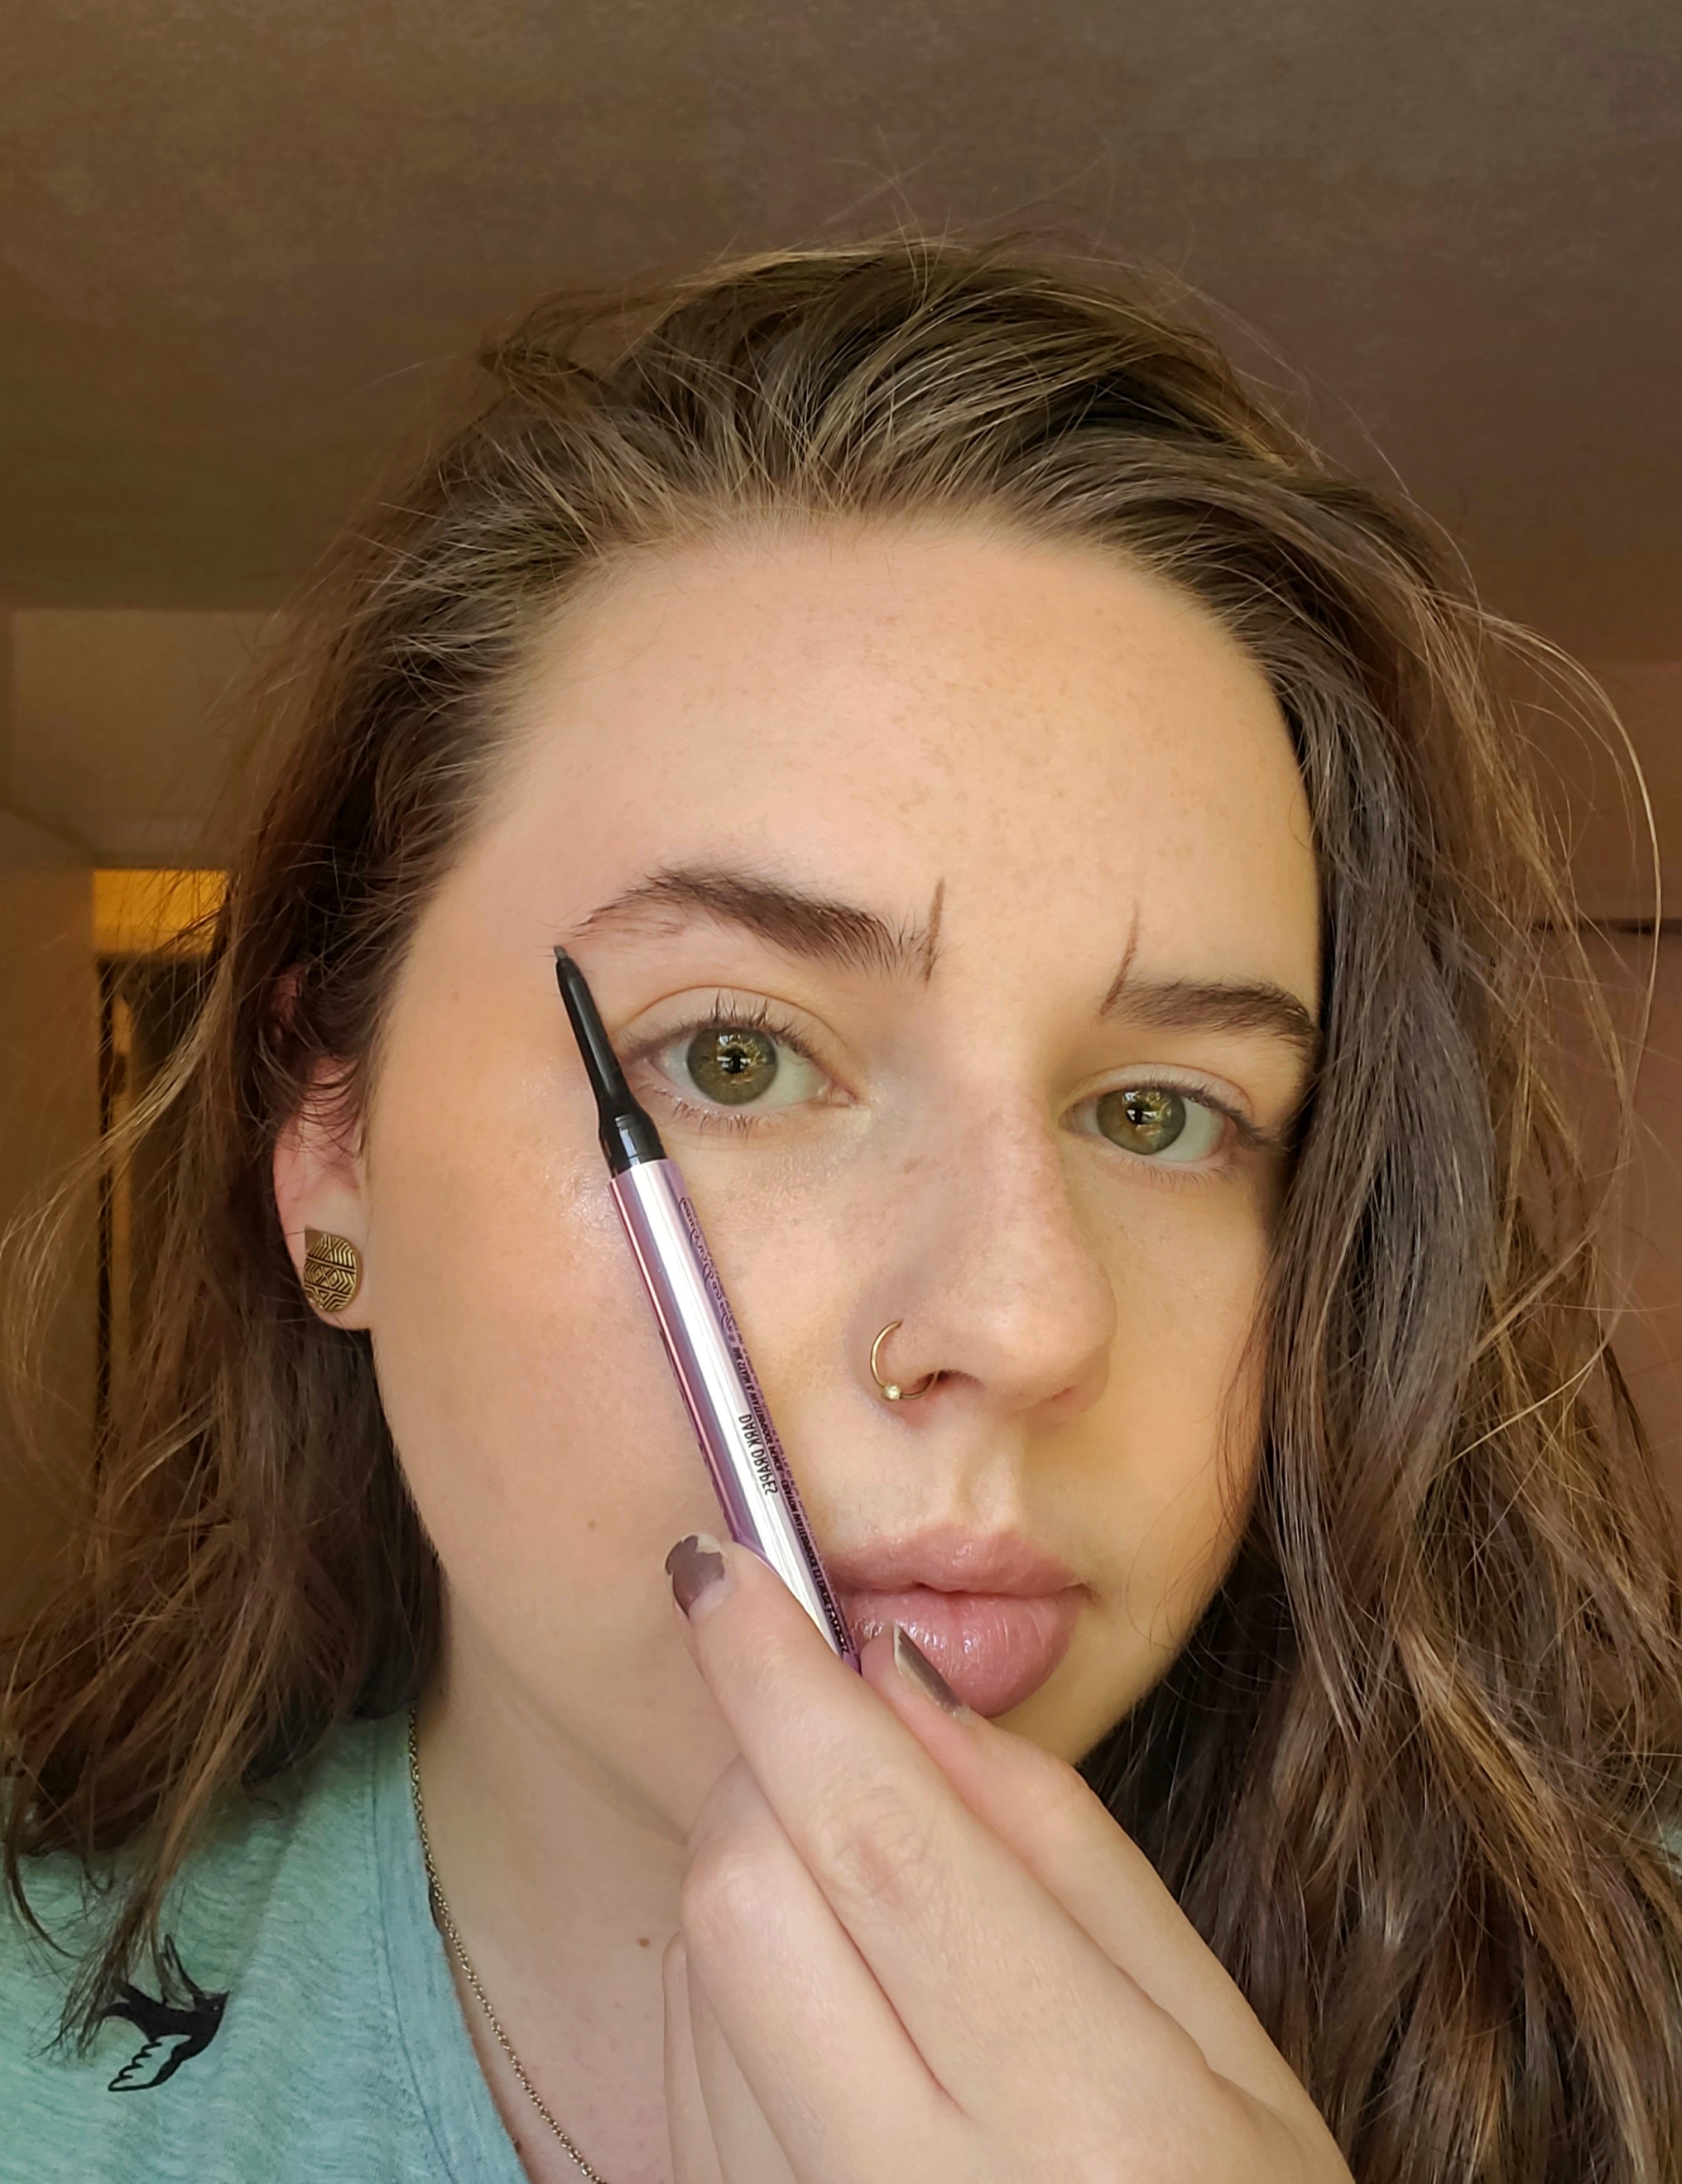
3. From the edge of your nose to the end of your eye is where the brow should stop
*Keep in mind, this doesn’t have to be perfect, but still take your time. This serves as a guide to follow since If you are a beginner in eyebrow shaping, it is crucial to know what hairs are outside of the lines of your natural shape.*
After your brows are marked with 3 dots or lines, you can also lightly fill them in how you normally would. This can help ensure you do not remove more hair than you need. Definitely do this if you are a beginner!
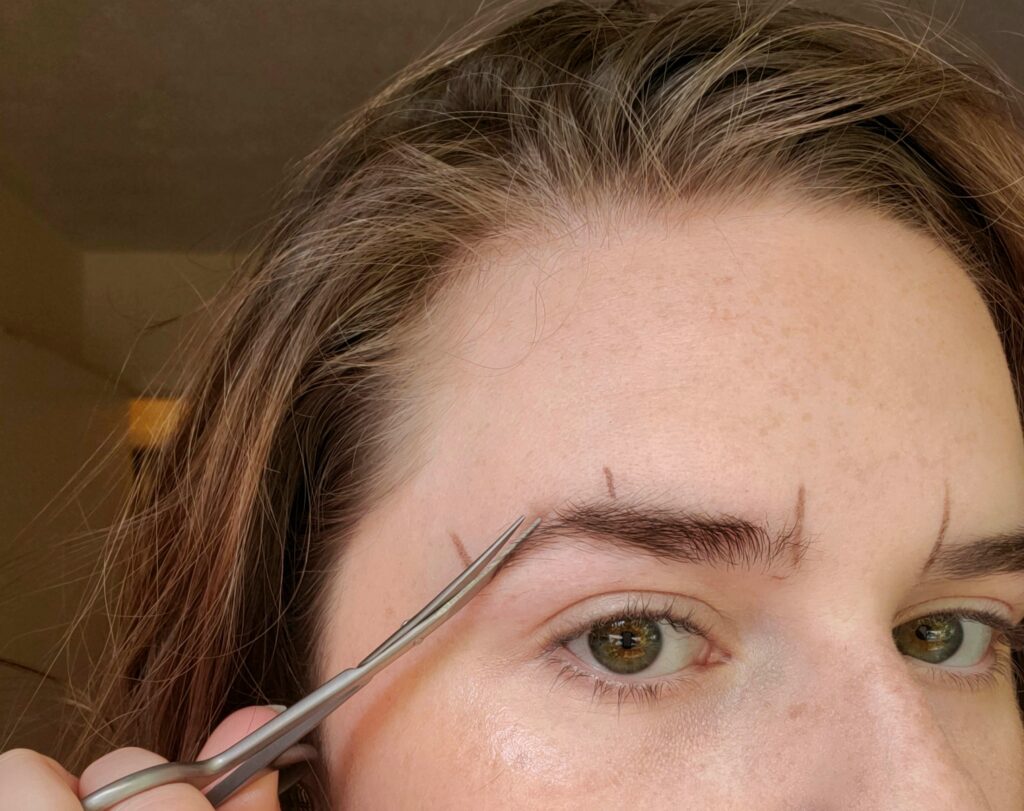
Next, grab your tweezers.
DO NOT go crazy and overpluck. I encourage you to use a regular mirror and not a magnified one. Only get the ones outside the lines which you created with your brow mapping. If there are too many hairs to pluck, tweezing can really begin to hurt. This is why we wax! But, remember to take it slow and only worry about the pesky ones. Those hairs on your eyelid? Gone. The really dark hairs outside of the lines? Plucked.

Put the tweezers down! Grab the scissors and lets trim.
Trimming my brows was the start of a new era. I didn’t even know this existed until I was in esthetician school. FYI, you don’t have to trim them perfectly like the instagram brow trend. If you like that, then go for it. If not, then be more subtle with it. Also, super important, this is where you have to use your spoolie to ensure the brow hairs are going in the right direction!
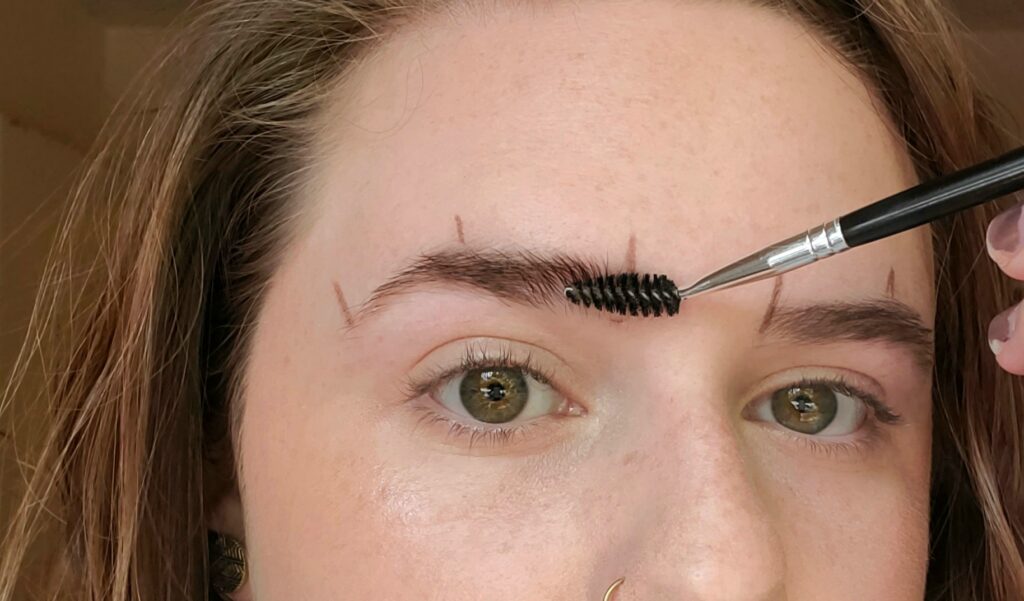
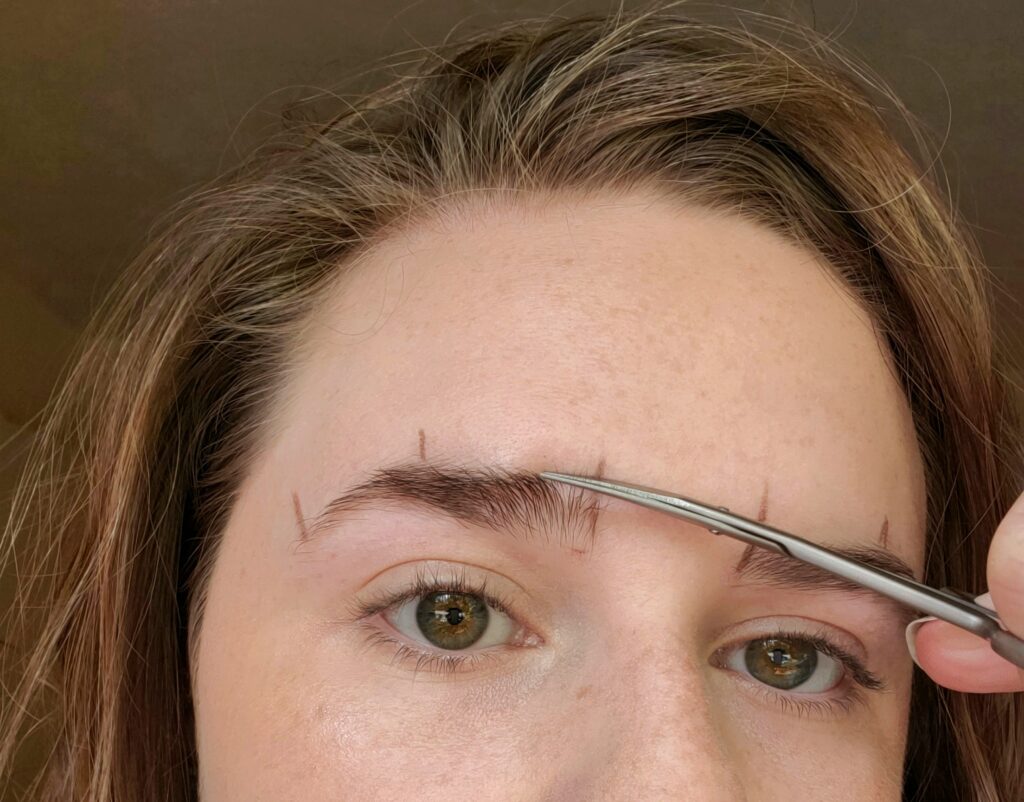
Only trim in the direction the hair naturally grows… and cut slow. The length of my brows always grow very fast. My brow shaping and groom routine is to typically trim every 2 weeks, and wax or tweeze once every 5 weeks.
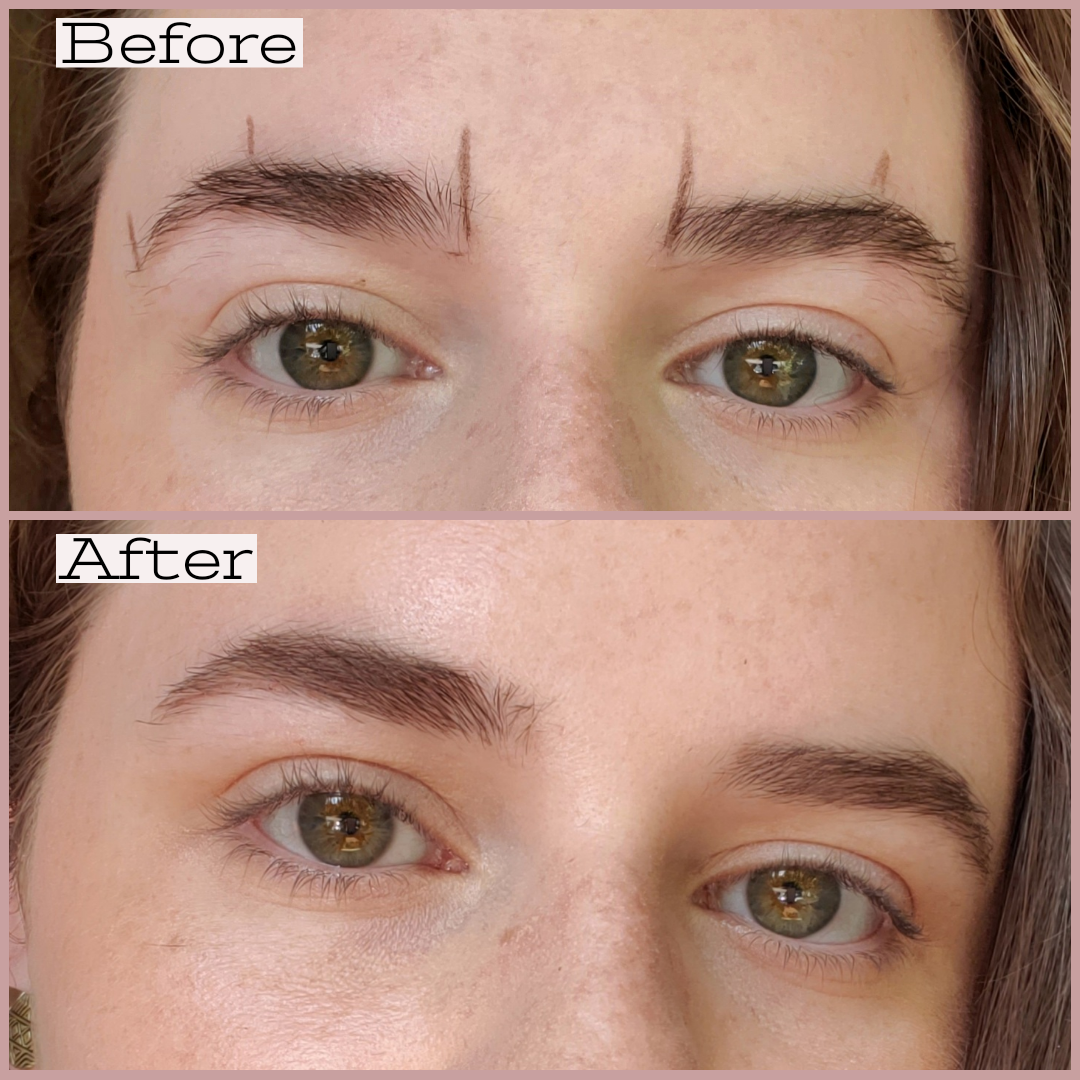
Now breathe…your brows are shaped and groomed!
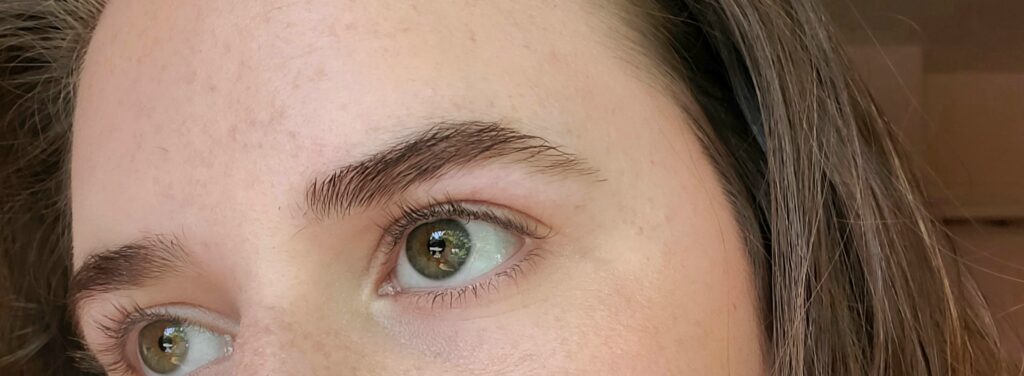
I love to follow my natural brow shape and enjoy a fluffy, full look. If you prefer them less groomed or maybe more shaped, then do what you prefer!
Are other Tools/Hacks worth it?
I have watched so many YouTube videos on how to do your brows at home and too many of them have hacks that make me cringe. My thoughts on these for brow shaping:
Nair for shaping brows– absolutely not, unless you want a chemical burn
Brow wax strips that you rub in your hand to heat up– no, unless you want half your eyebrow gone
Brow razors– these are okay if you get a lot of peach fuzz around your brows. I would recommend professional dermaplaning first, but the cheap razors do good at a simple clean up if you need it at home.
Let me know in the comments if you used my brow shaping at home guide to clean up your brows! Did the shaping and grooming technique prove to be easy? Thanks for reading!


I know I have some inch long hairs that need to be trimmed! Will definitely be using this guide when I tackle them!
Yes! I always find pesky hairs when trimming. I hope my guide helps you.